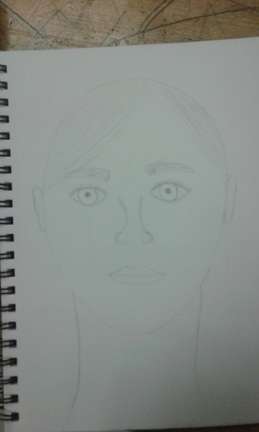
 When drawing faces, we had to make sure everything was symmetrical as well as make sure everything on the face was proportional to where it would be in real life. The eyes had to be about halfway down on the face, and the lips needed to be on the bottom third, and so on. As well as that, you need to shape the face according to the person who you are drawing, different shapes appear on different people, and those need to be emphasized to bring out the differences each person has.
I learned that drawing a face is a really complex process. Some lines, especially the lines of the nose, really aren't lines at all, but rather a shade that is based entirely on the way light is reflecting at the time. And that by shading the wrong parts, you could completely change the way the drawing is viewed.
0 Comments
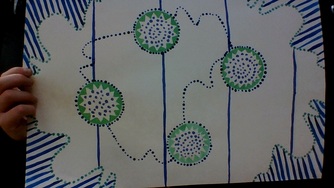
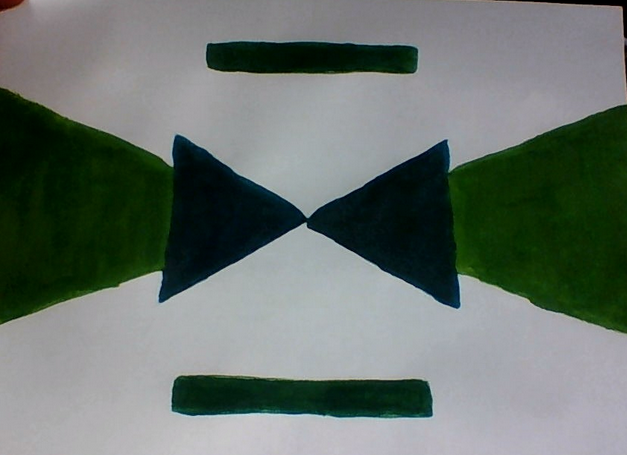
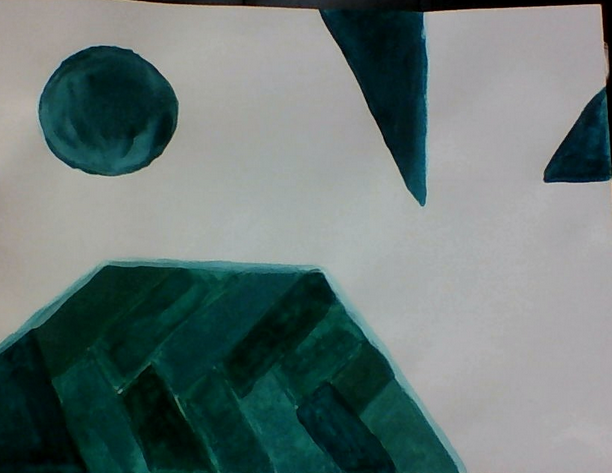
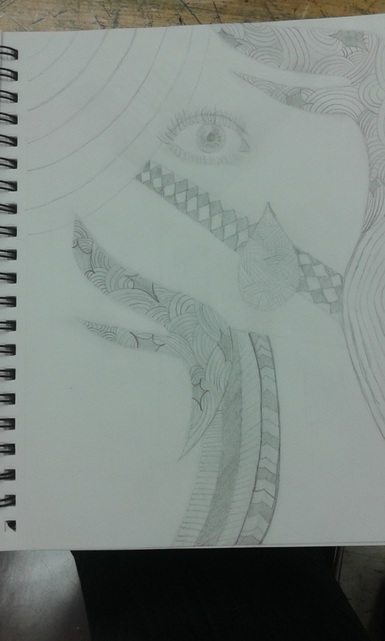 For this assignment, we had to draw multiple different patterns together in one picture. It was important to make sure they all sort of flowed together, just like in writing its important to make sure the sentences make sense. There were a lot of different patterns that could have been done, like patching, which is drawing small, parallel lines crossing over other small, parallel lines, which turned out to be a lot of work. Then there's the line shading, which is drawing multiple lines darker or lighter depending on which direction you go. There's cactus drawing, which is sort of shading along the perimeter of a shape with dots, instead of coloring it in with a pencil.
My favorite of the patterns we had the options to use was the patching. Even though it was extremely time consuming, the end result is really cool to look at with all the different lines coming together to form that one piece. I thought it would have been best to have a focal point of the drawing to emphasize the drawing a little bit better, and that's what the eye was meant to be. This doodle was a lot of fun, and I only wish I would have actually drawn more, weird as that sounds, but I really enjoyed working on this assignment.
A while back, we learned how to draw character sketches using circles and ovals as a starting point. The beginning of this project was like that, but a little more difficult for me because Spongebob is basically one big square, so it took some time for me to figure out just where the arms and legs went. Once I did that though, the rest of the character drawing was relatively simple. I had the most problems while I was trying to figure out just how to draw a skeleton sketch of Spongebob. When I was younger, I remember seeing an episode where Spongebob was actually a skeleton, so I sort of went with that.
The most difficult part of this whole project was without a doubt the lower section of the skeleton drawing. If Spongebob even has hips, a ribcage and a spine, I'm pretty sure they don't look how I drew them, but I did my best. The ribcage area was really hard to draw, I think, because of the unevenness of it and the way it wraps around the spine in more of a square than a circle. When working with clay, there are a few methods we had to follow. To start, we did the slab method, which was lighting dropping the clay onto the table to flatten it out in order to get a base for our mugs. after that, we used coils in order to build up the mugs to get them to the heights we wanted. And for every time we did a coil, we had to score the one below it and slip the place we scored to sort of glue the coils all together. Then we smoothed it out to get all possible air bubbles and holes out of the mug so it won't leak when we use it.
|
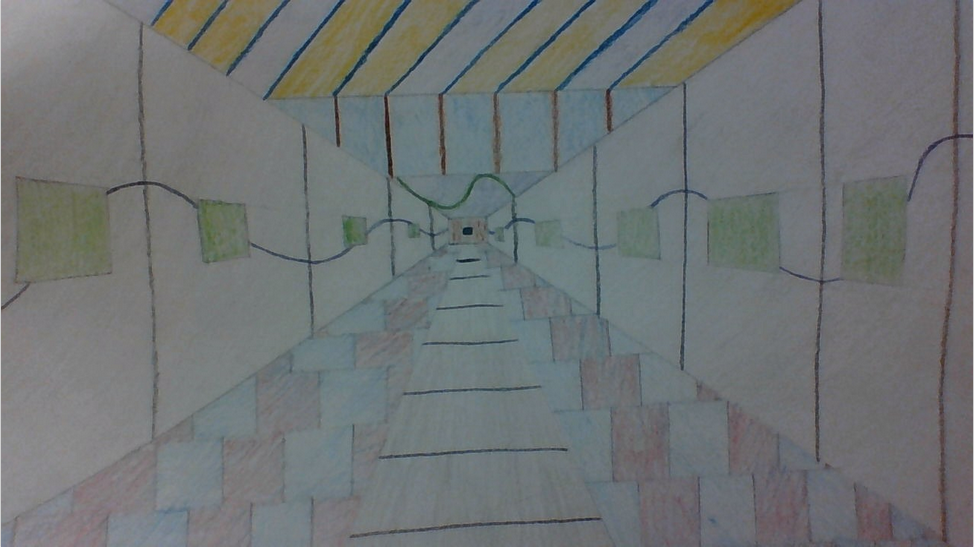 | On the left is my redesigned hallway. When I walk through the school, I always hate how plain everything is. So I made my hallway with tons of color that I think just makes everything happier. My favorite part is the floor because I kind of imagined it to be sort of cobblestone flooring that has water tiles so we could say "we're walking on water." |
